
Nearly all new or returning modellers start with a Spitfire, and I am no exception! I decided to make the TAMIYA Spitfire Mk Vb first (kit number 61033) in 1/48 scale, following advice from Beckers Model Aircraft, an experienced modeller and YouTuber that I was watching on YouTube.
He advised a 1/48 scale Tamiya kit that was first produced in the 1990’s with kit numbers from 61032 to 61097, as these kits are well engineered, not too small and don’t have many parts, ideal for beginners and returning modellers of a certain age like me.
I started with kit number 61033, a Supermarine Spitfire Mk Vb by Tamiya. This was ideal as it was not overly complicated, had xx amount of parts and looked well engineered.
I began by assembling the cockpit according to the instructions in the kit
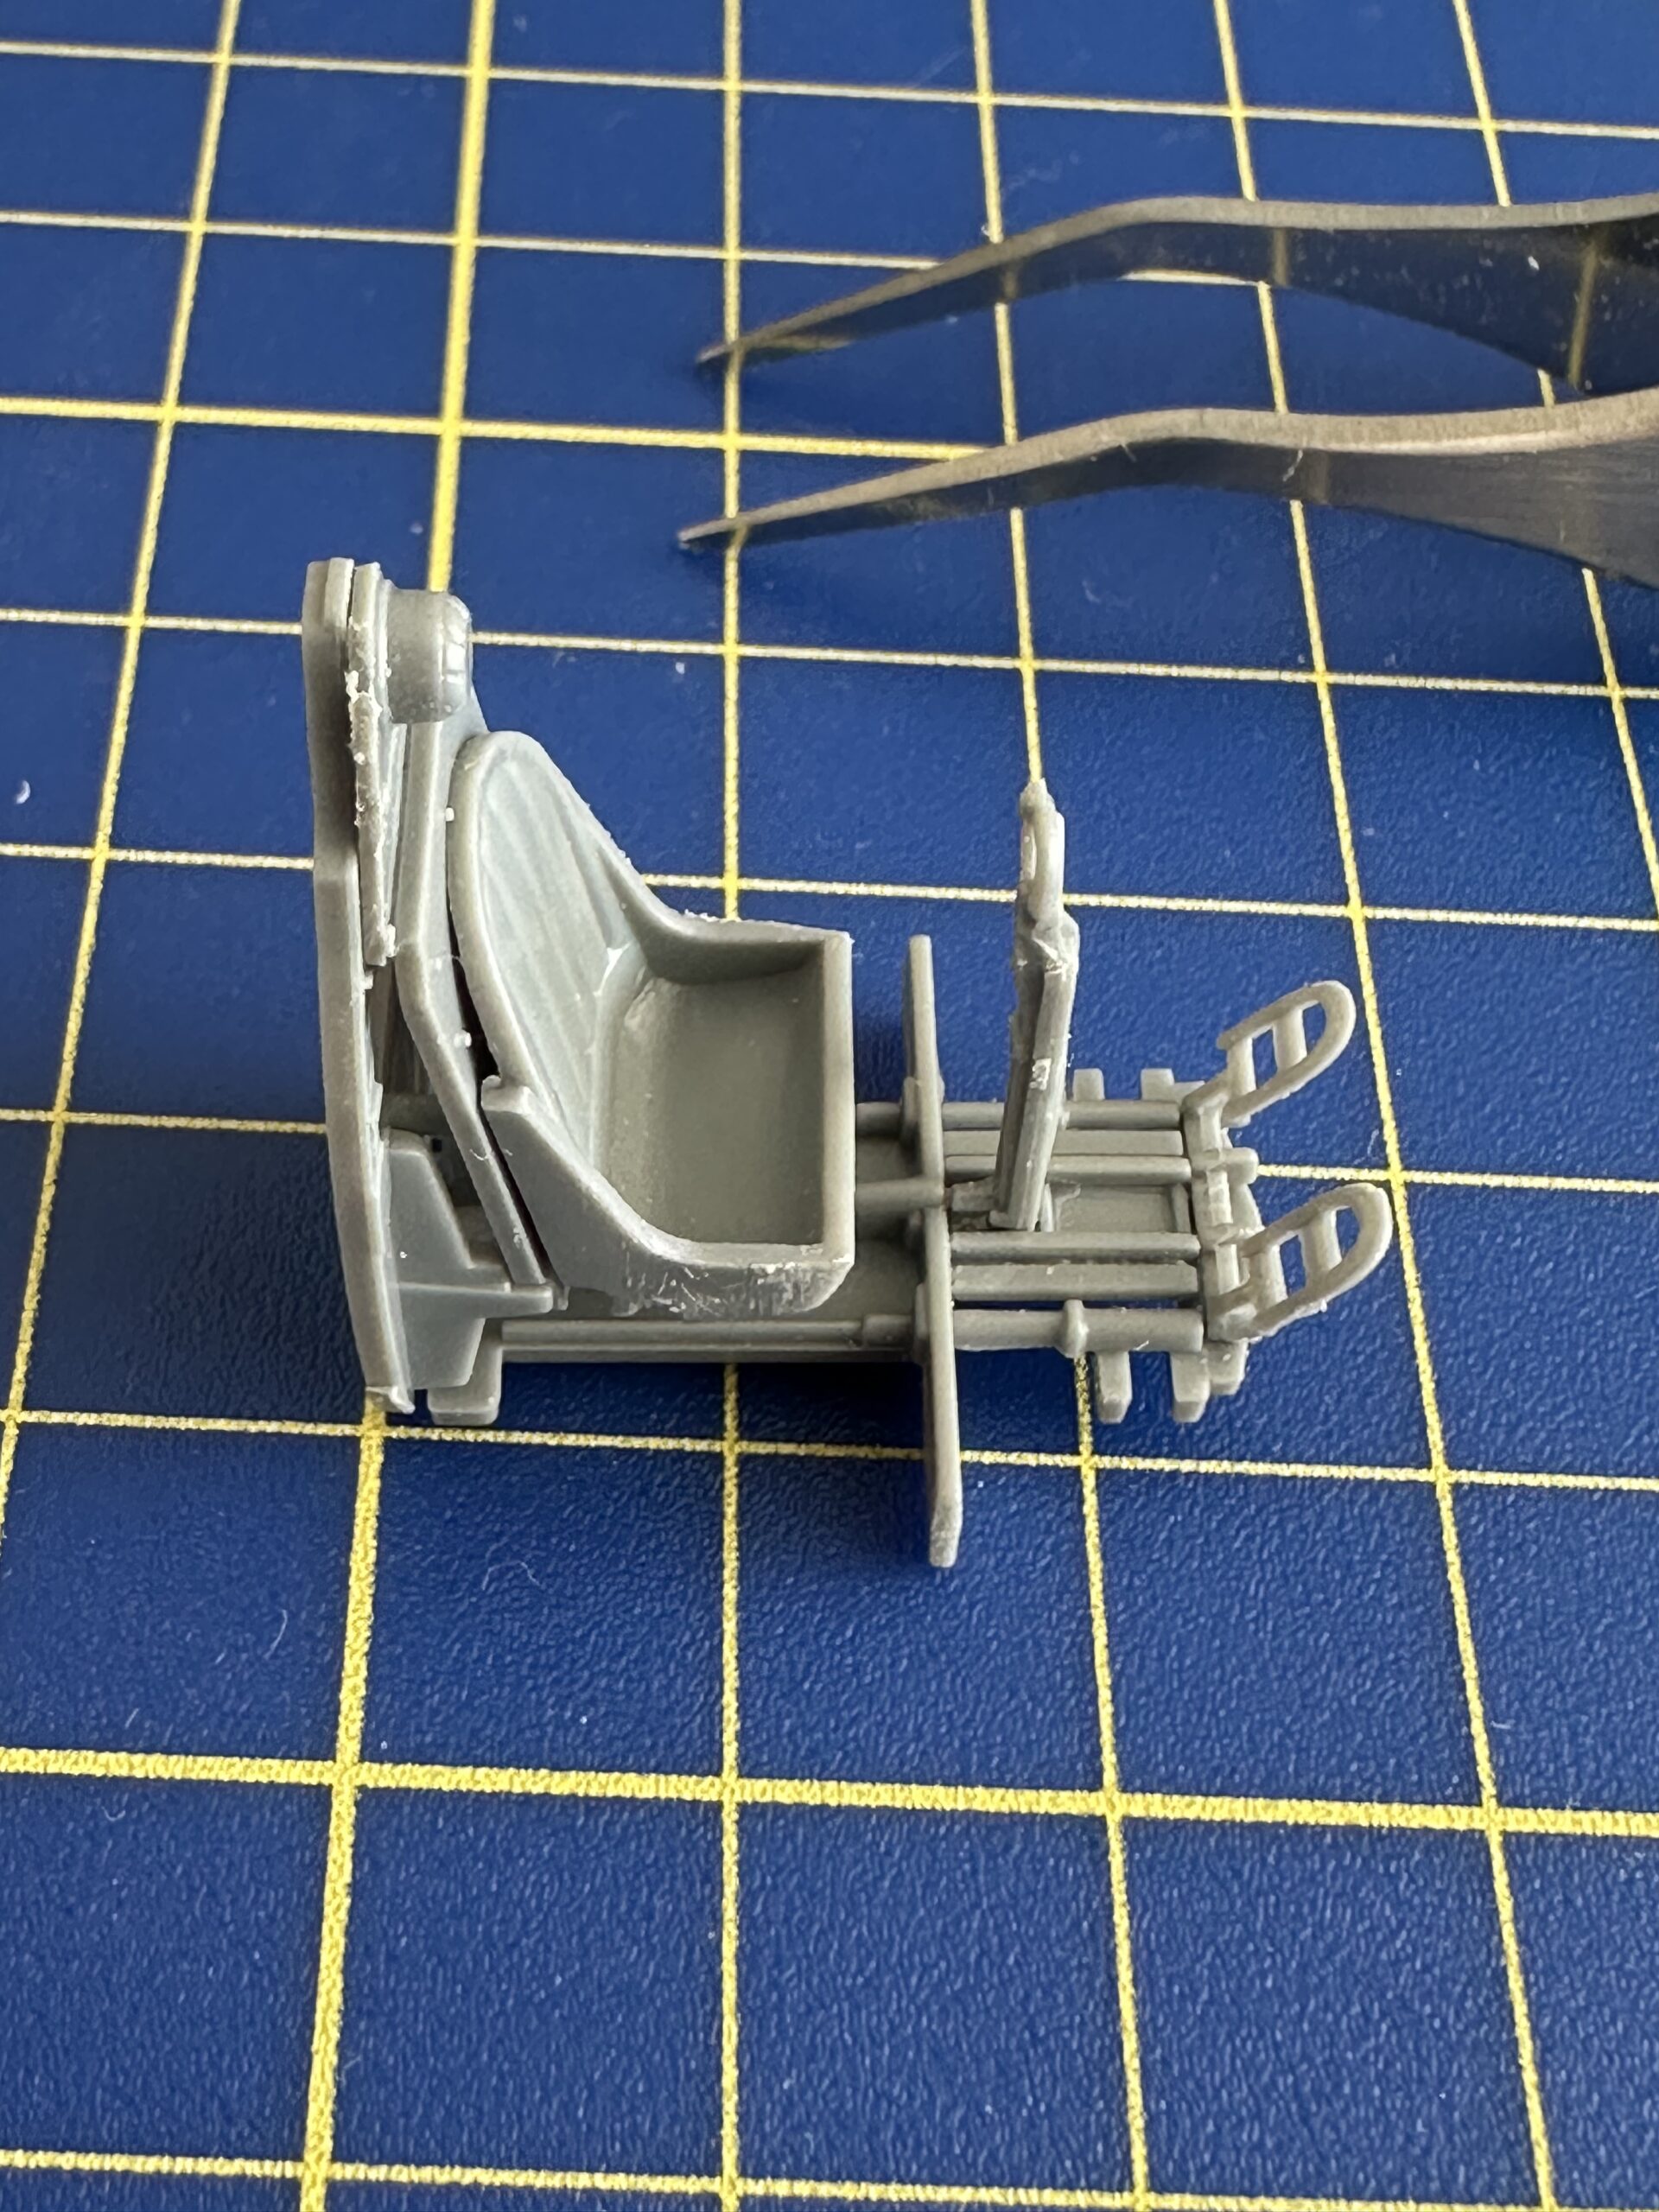
The unpainted but assembled Mk Vb Cockpit
It was quite an easy build considering I hadn’t done any modelling for a few years.
I wanted to do it properly, so I painted the cockpit interior with RAF interior green from the Vallejo model air range of paints using my new airbrush. I was quite pleased with the result, considering this was my first time using an airbrush.
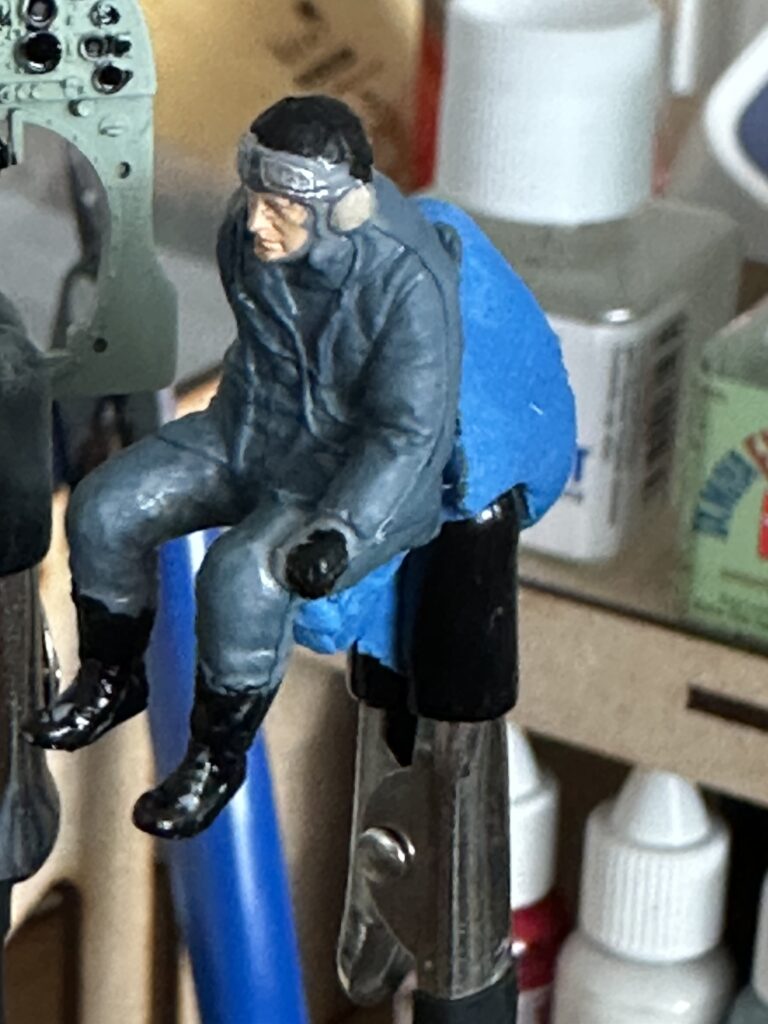
I really wanted this model to be displayed in flight, so I decided to have a go at painting the pilot figure included in the kit. This was very small, but I don’t think that I made a bad job of it considering that I hadn’t painted anything this small for a very long time.
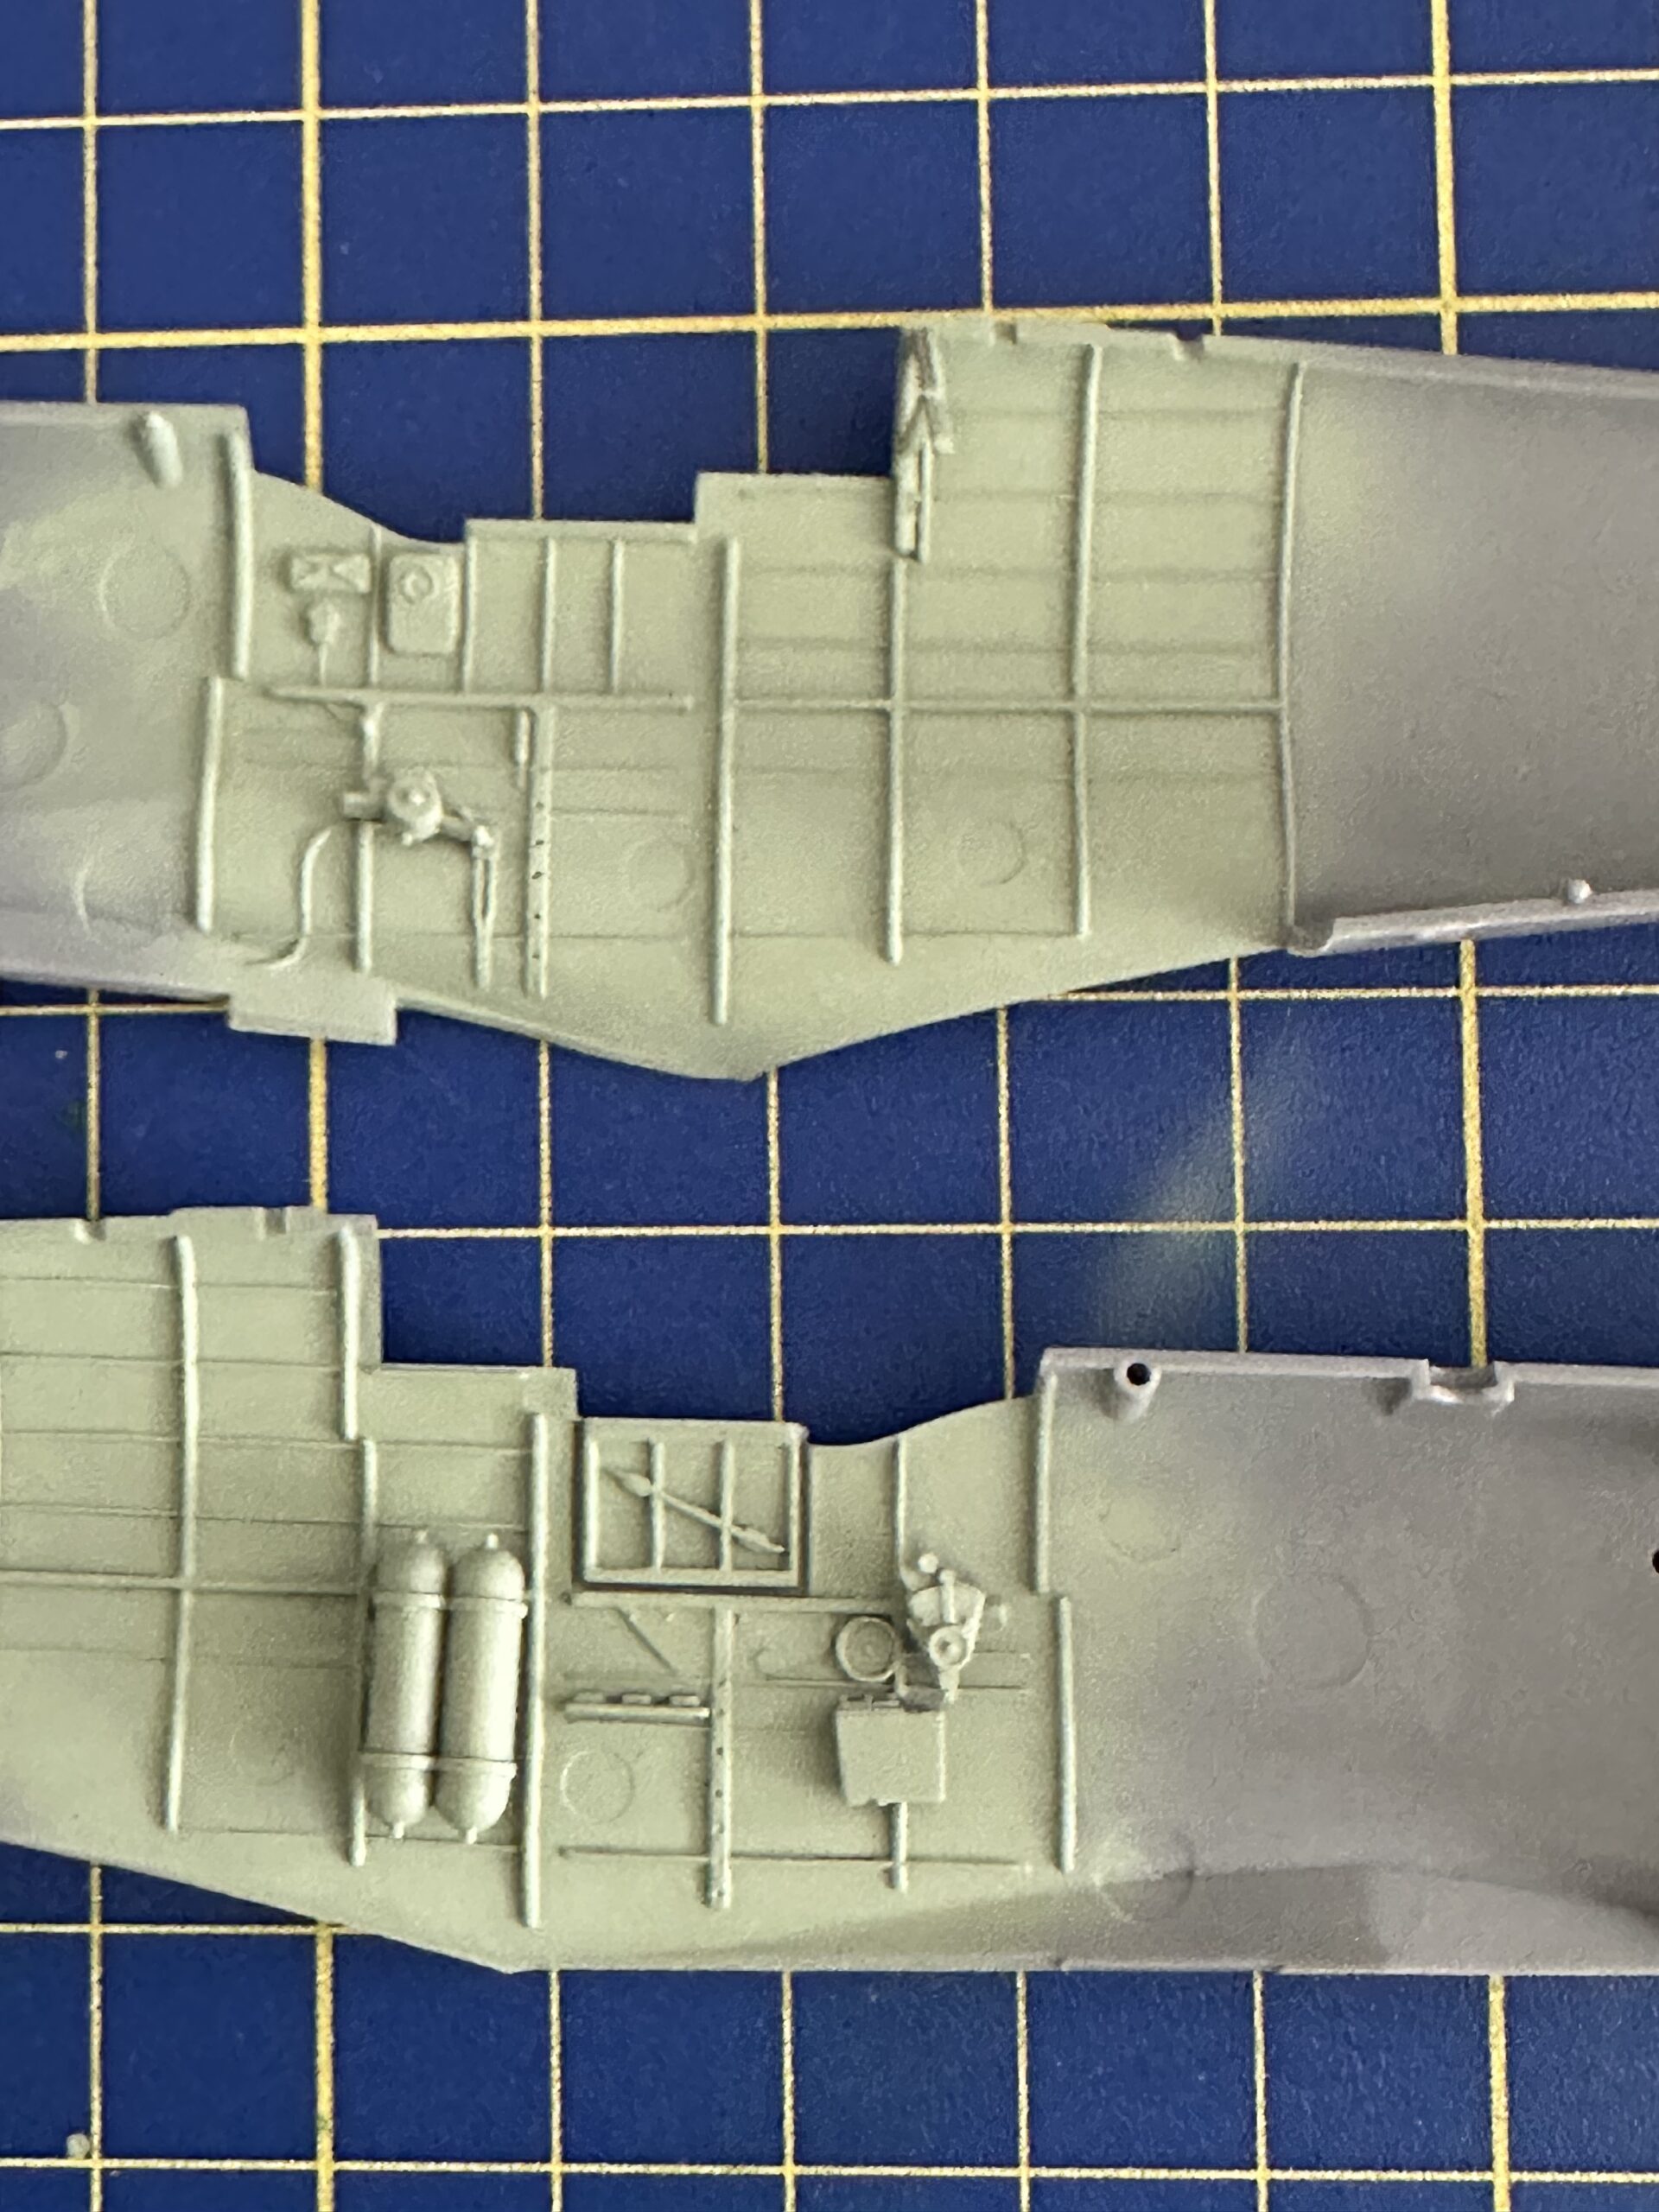
I then moved on and assembled the finished cockpit into a fuselage half, and then cemented the two halves together. They fitted really well without too many issues.

The cockpit was assembled with the pilot figure and wings added before painting.
The fit of the wings to the fuselage fitted together with only a small gap on the starboard side of the model, and this is where I got my first chance to use my plastic putty filler.
I didn’t have a masking kit for the canopy, so I ordered one, but I wanted to move on with my model and decided to mask off the cockpit with blue tack. This proved to be a bad idea, as the blue tack was difficult to remove after painting.
Now is the time to paint the assembled model, and I used Vallajo grey primer to do this. I don’t know if this was the right choice, but it seemed to turn out ok, there were no runs in the paint, and it didn’t seem to be applied too thickly either as the panel lines on the kit looked very prominent.
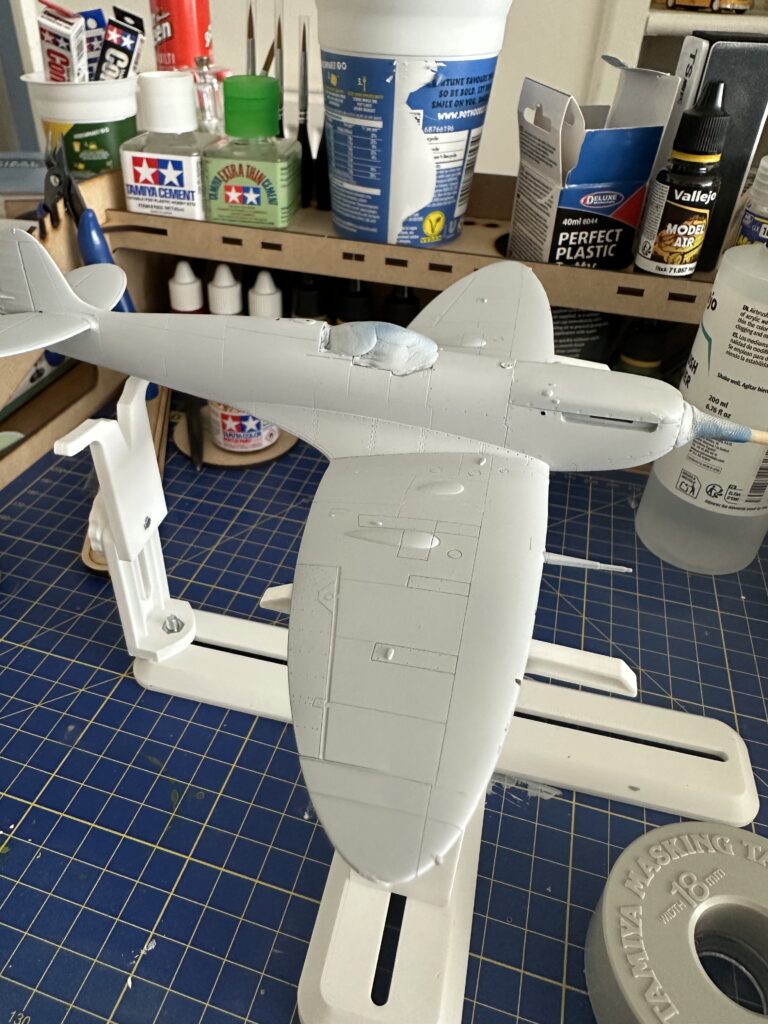
The Spitfire, after painting with primer and with blue tack masking.
The gap that I had filled with putty between the wing and the fuselage on the starboard side was looking not bad, and nearly invisible, not bad for my first attempt at modelling.
I let the primer dry for about a week before the top coat was applied. The underside of the model was painted first in Vallejo Model Air sea grey and after this had dried it was now time for me to do some masking. I am not sure if I did the masking correctly, and I do not have any images of this to show you, but if you look at my finished model, this did not turn out too badly.
After masking, it was time to paint the top side of the model, and for this, I used Vallejo Model Air Ocean Grey. This was also left for about a week to dry before the camo masking was put on the model.
I used camouflage masking putty from Ammo Mig to mask the model. This was very good but needs a bit of skill to apply and keep on the model, as it does run on vertical surfaces if left long enough, ie; if left overnight for example.
Once the masking putty had been applied and I was happy with the overall look I could go ahead and spray my model with dark green to give it that authentic camouflage look of a WW 2 Spitfire.
The leading edge of the wings is supposed to be yellow, and decals are supplied in the kit for this, but I decided that I would paint these on with the airbrush for a more authentic look. The mistake that I made here was not masking the wing completely, and consequently, there was some yellow overspray on top of the grey and green camouflage. In hindsight, I should have painted the yellow first, then masked it off before applying the camouflage.
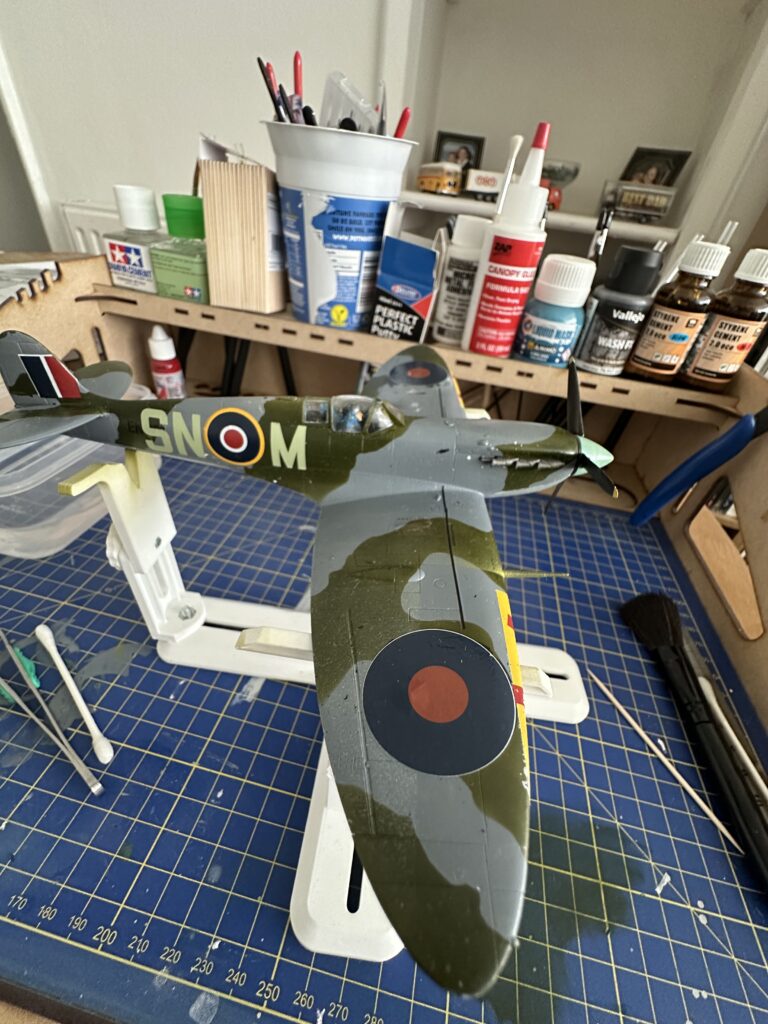
The finished model has some mistakes.
Applying the decals proved to be a challenging and difficult task for me. I applied a coat of gloss varnish to the model before applying the decals. The RAF roundels on the upper wing were ruined completely by too much decal softner and I had to order replacement decals. The ruined ones were difficult to remove but made the model look a bit battle-scarred, adding to the authentic look.
The model was finished off with a coat of Matt varnish which also sealed in the decals to protect them.
Overall I am quite pleased with my first attempt at modelling in about fifty years, but there some mistakes and I have learnt from them and hope to use these skill and techniques in future builds.