I started making the Focke-Wulf Fw 190 a3 on 26/10/25.
After assembling the cockpit tub, I hand-painted it RLM grey violet, as well as painting the interior of the fuselage sides and the inside of the wheel wells the same colour.
I masked the canopy using an Eduard masking kit specific to this kit; the masks went on well, and I was pleased with the result.
Included in the mask kit are masks for the main landing gear and tail wheel. These also went on well.
I then assembled the two fuselage sides together and inserted the cockpit tub, added the elevators and then assembled the wings and glued them together.
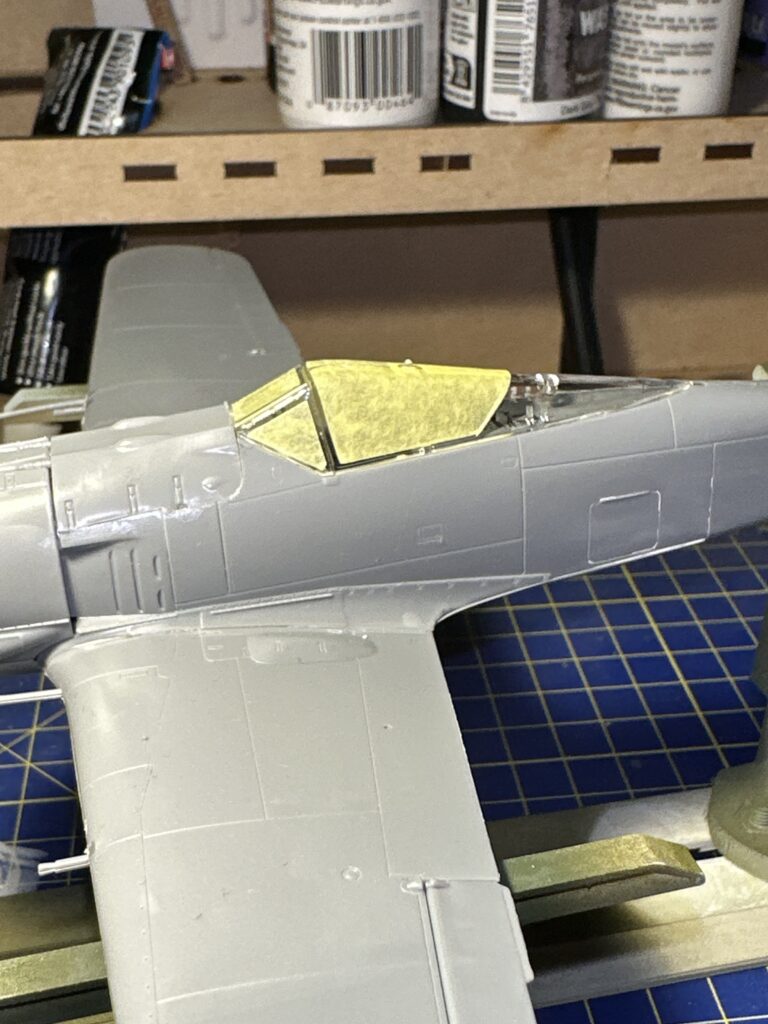
The canopy with the mask applied.
After assembling the engine components, I first primed them in black and then sprayed them with metallic silver and fitted them to the fuselage.
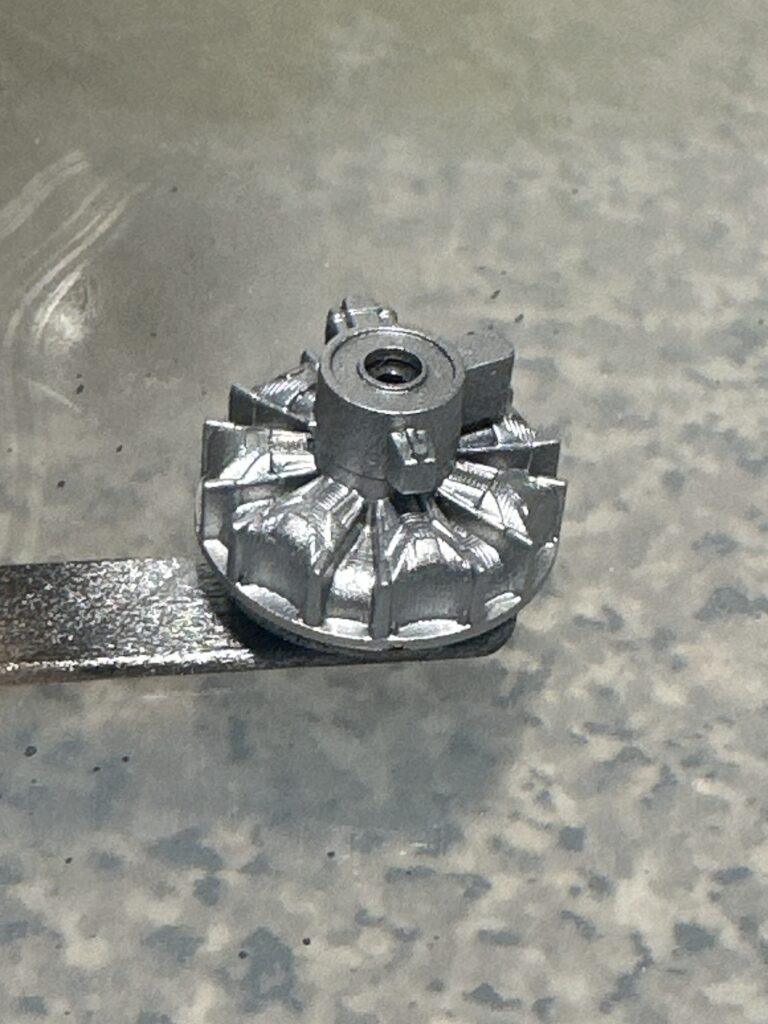
The finished engine painted in silver
I also sprayed the propeller and spinner in grey-green.
I then sprayed the model in Vallejo grey primer, giving it two coats and allowing it to dry at least 24 hours between coats.
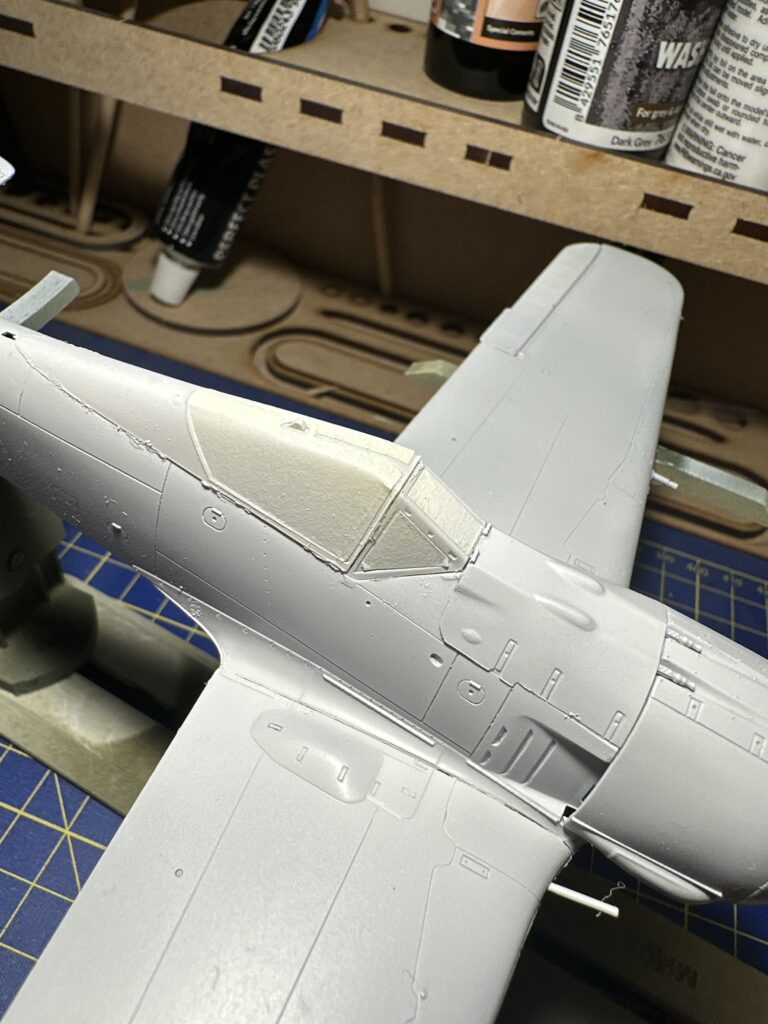
The Focke-Wulf in between primer coats.
RLM 76 was then sprayed onto the underside of the wings, fuselage and elevators as well as the sides of the fuselage.
After leaving it for at least twenty-four hours, the model was masked. I spent a good few hours cutting and applying masking tape; the chin of the Focke-Wulf was painted RLM 04 yellow, as well as the rudder. These areas were masked off so I could apply RLM grey to the top of the fuselage and wings.
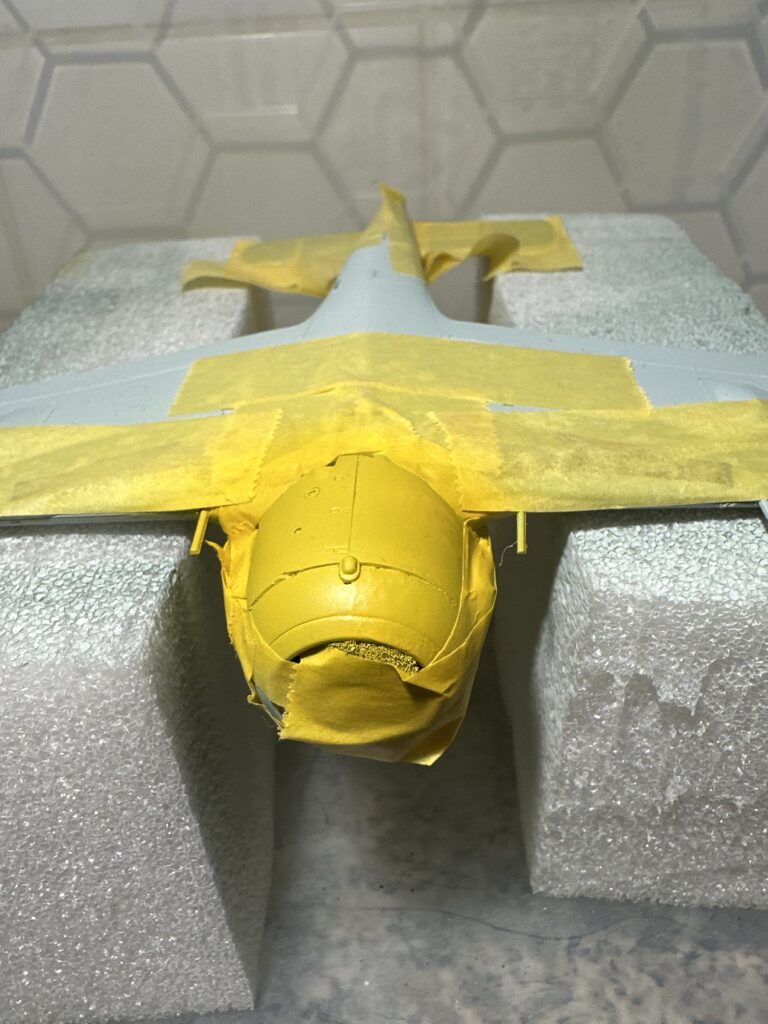
The chin of the Focke-Wulf was painted in RLM 04 yellow.
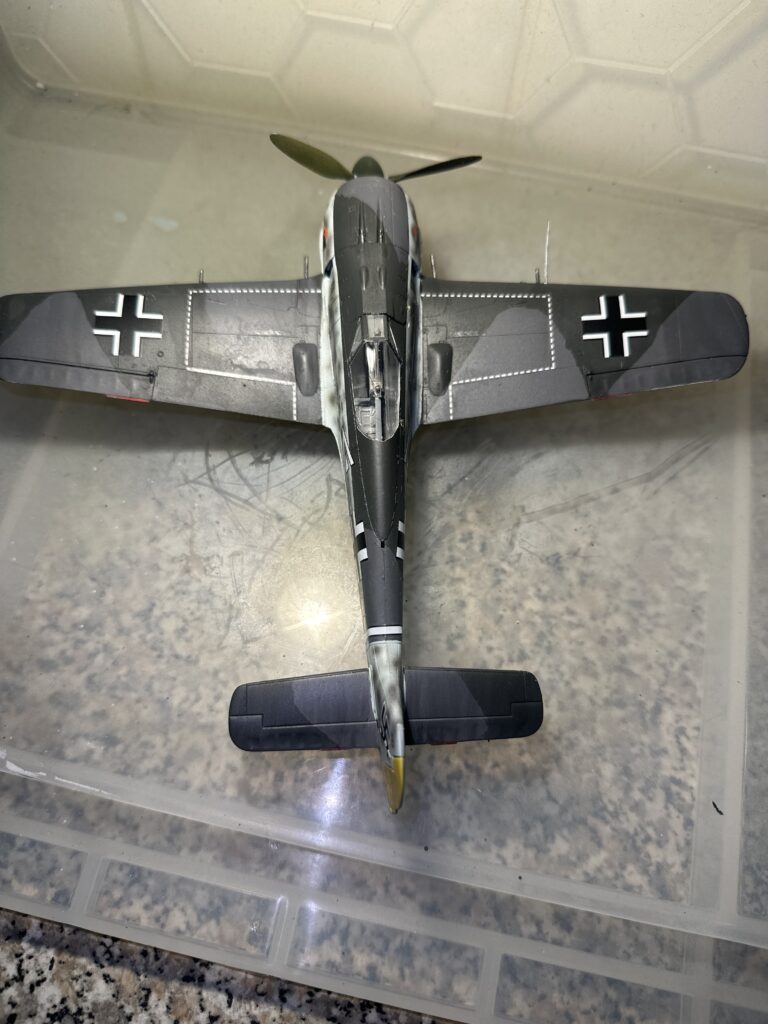
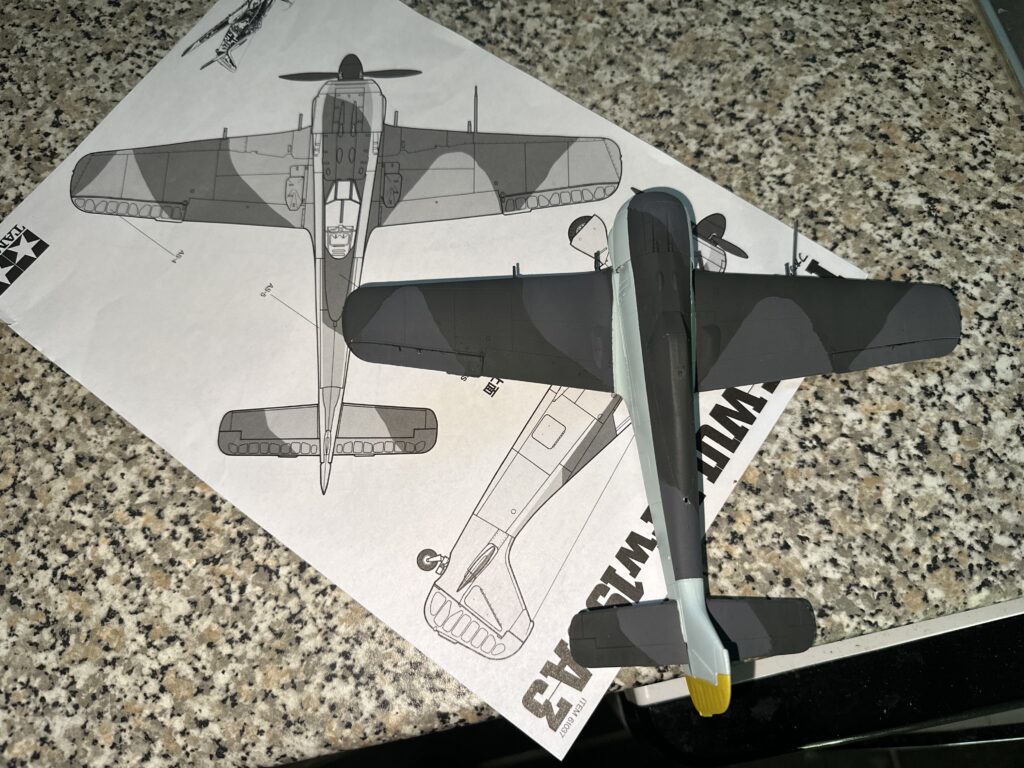
I wanted to do the camouflage pattern the same as it is shown in the kit. Tamiya include the camo pattern printed on an A4 sheet of paper and shows a diagram that is the same size as the model.
Trying to shape the camo putty and place it in the same place as shown on the diagram was a pretty daunting task until I hit on an idea.
I decided to make a copy of the camouflage pattern and then cut the shapes from the paper. I then rolled out the putty flat in a similar way that one would roll pastry when making pies.
The masking ‘mats’ were applied to the model before painting the green.
Then the cut paper pattern was placed on the putty and cut to the same shape and size. This was then placed onto the model in the same place as shown on the diagram, giving my model an extremely accurate camouflage pattern.
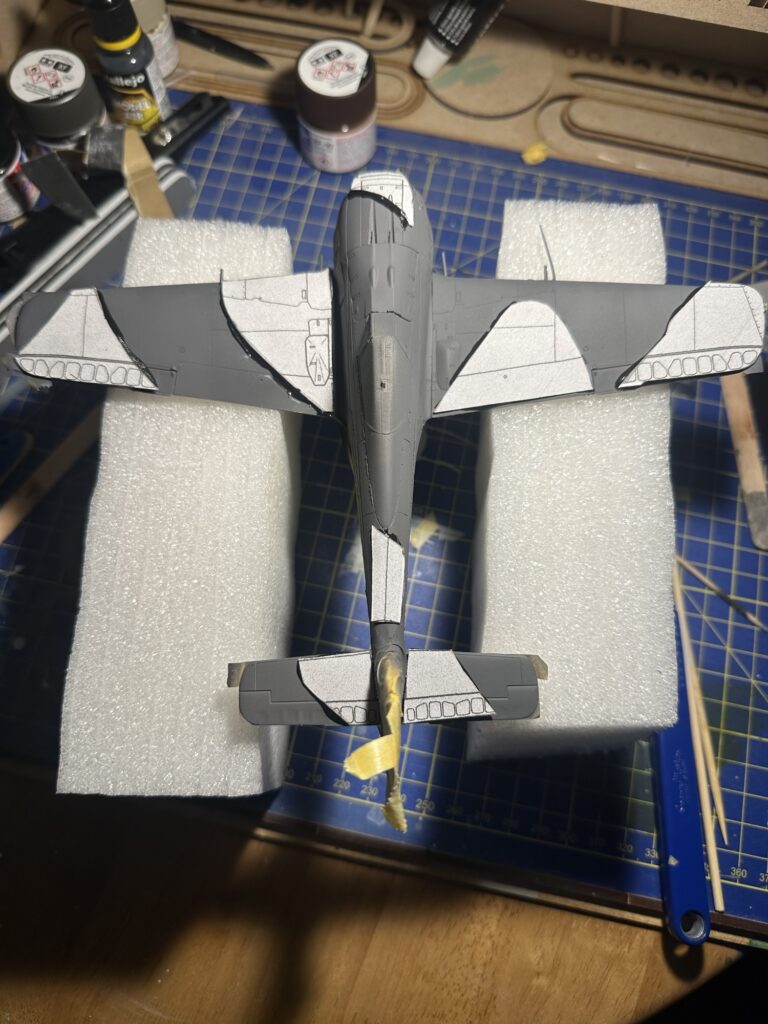
After airbrushing the green on and waiting for it to dry, I was extremely pleased with the result as I compared it to the camouflage pattern; it looked very realistic.
After unmasking, the model looks like the camouflage in the kit pattern.
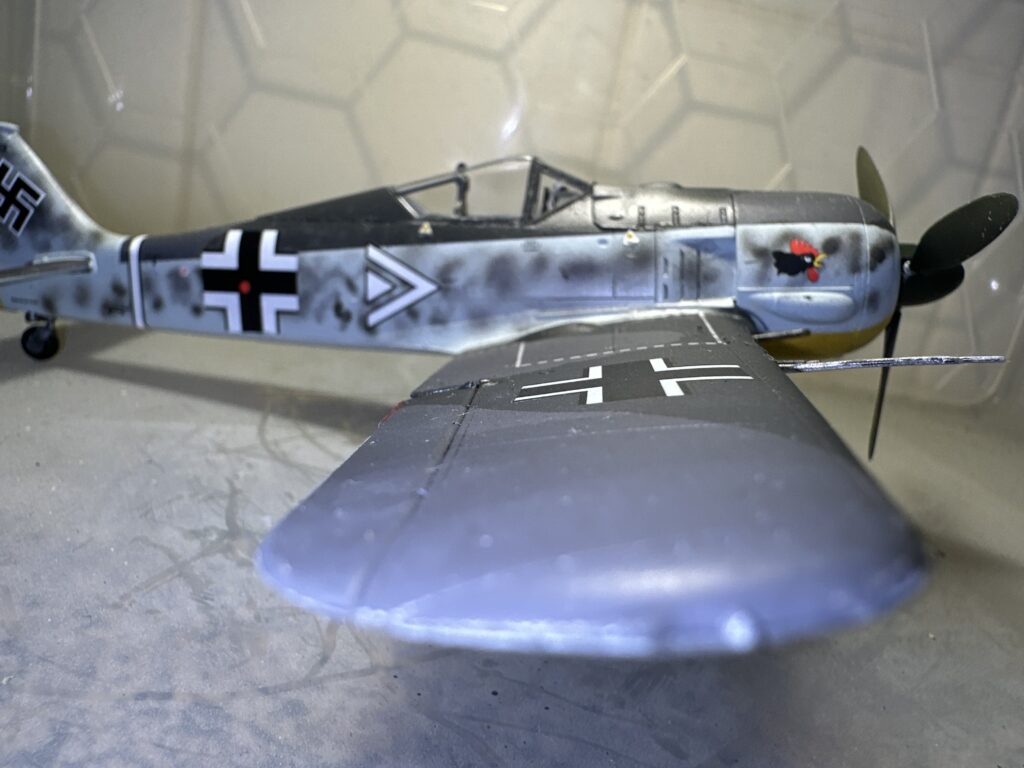
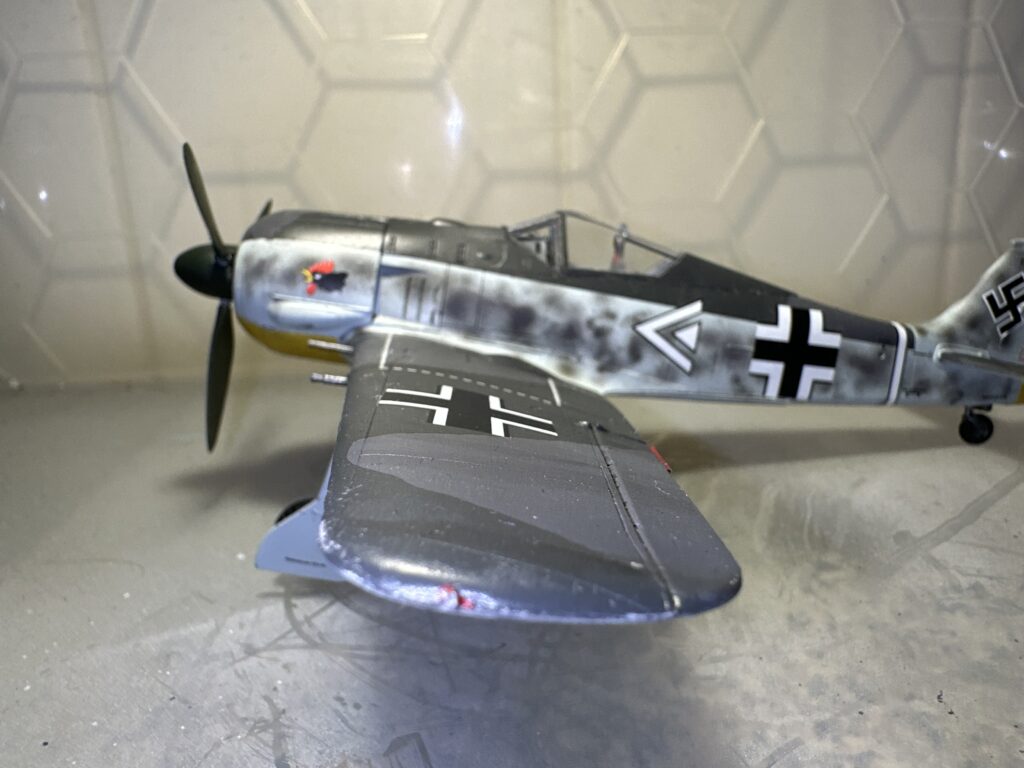
The next job was to paint the mottle on the side of the fuselage, which is the same two colours as the camouflage on the top of the aircraft, and I decided to paint this freehand with my airbrush.
The paint went on really well, and I was extremely pleased with the result seeing as this was my first go at painting mottle freehand.
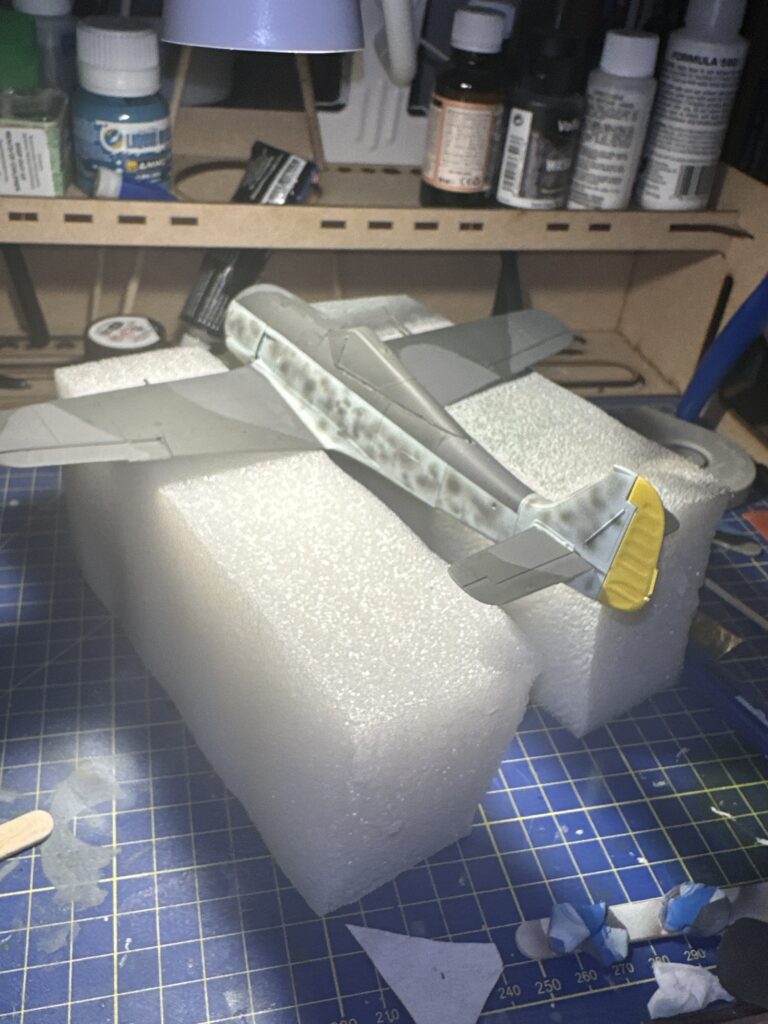
I was pleased with the freehand mottle.
The next part of this model was to spray it with a protective gloss coat so that I had a shiny and smooth surface to apply the decals to. I spent quite a few hours putting the decals on, and for me, this is where the model comes to life and starts to look like a real aeroplane. The decals went on easily, but took a lot of time using Microset and Microsol on each one and waiting for each one to dry before putting on the next one. After I finished the decals, the model was then sprayed with a matt varnish to seal everything in.
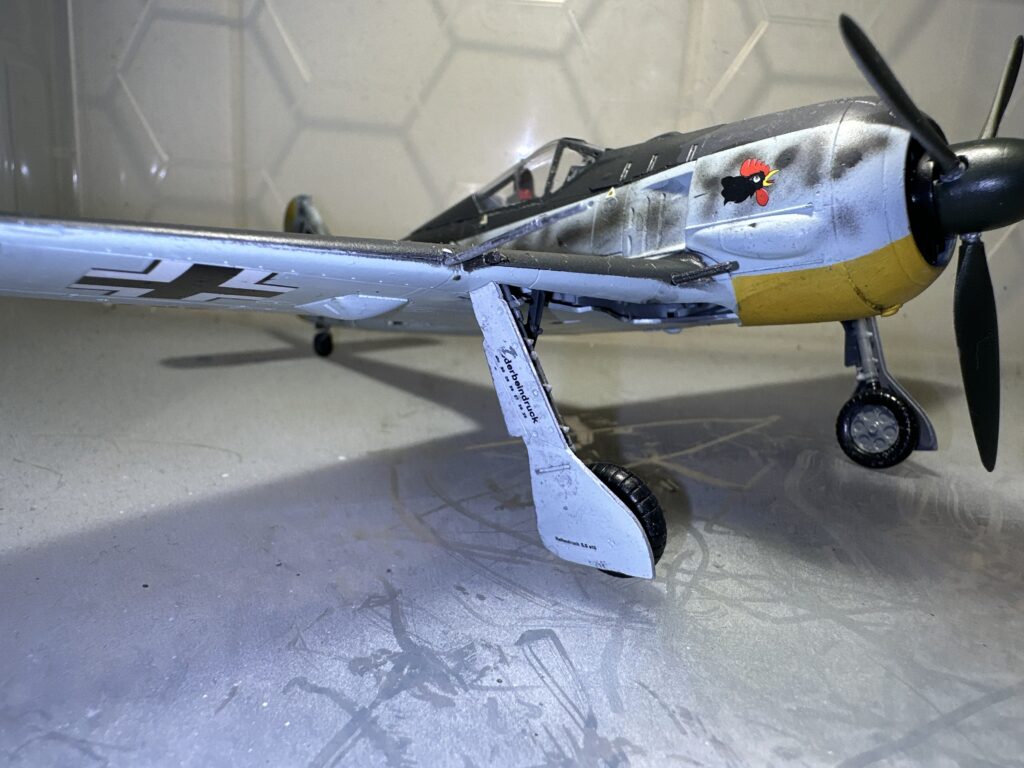
The finished Focke-Wulf FW190-a3